When it comes to the application of a clay facial mask, it is not about how much product you apply but how well you do it. One even layer of thoroughly mixed clay will be enough to give you the expected results. Applying a thicker layer, will not do more for you, it will just take more time to dry.

To apply an even layer of the mask, follow the next 4. steps:
Step 1 (only if you are using clay powder): Add 1/2 to 1 tablespoon of clay in any small non-metal or clay mask bowl, mix with a small amount of room temperature water until a consistent, gel-like mixture is reached. Use a non-metal spoon to mix.
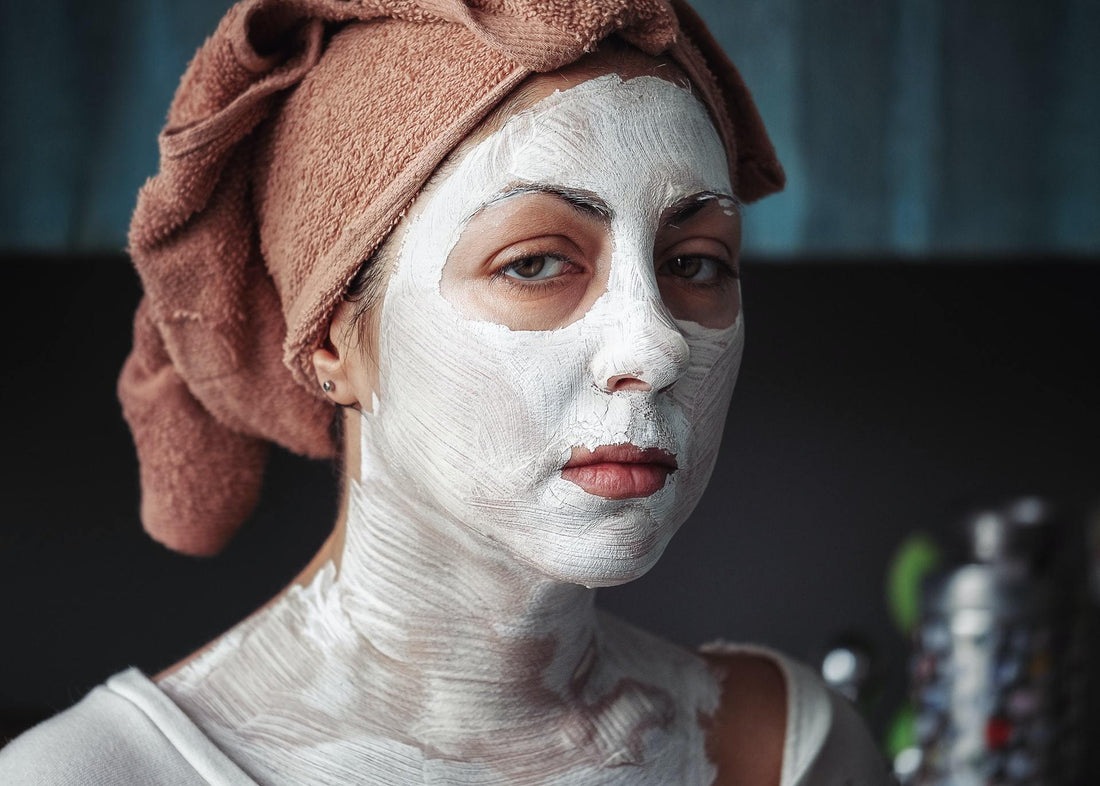
Step 2: On a clean and dry face, apply an even layer of the thoroughly mixed clay with a flat brush. A mask or foundation brush can help you spread the product smoothly. You can apply the mask with any technique you like, just make sure there are no bumps or excessive amounts of product on your face. Note to leave out the eyes and lips.

Step 3: Allow the mask to dry up for a few minutes before removing it, you want to see dry areas and feel a light tugging on your skin before washing it off. Don't allow it to stay on for too long in order to avoid redness. (10-15mins should be enough)
If you have sensitive or dry skin, or you're just looking for a gentle cleanse, allow the mask to dry around the edges of the face and nose and then remove (after about 5 minutes).
As the clay mask dries, you will feel your face getting tightened and may experience a slight tingle. In case the mask starts to burn or causes an injury, wash off the mask immediately.

Step 4: After removing the mask, dab a soft towel on your face to dry up. Then apply oil or moisturizer to complete the process.

Enjoy your smooth, healthy face!

-
- Shop KetchBeauty Pink Clay Face Mask ~ KetchBeauty's rose extract infused clay mask detoxifies, relaxes nerves, & effortlessly reduces the appearance of lines & wrinkles.